Set SPN Records for Dynamics CRM SSRS Configuration

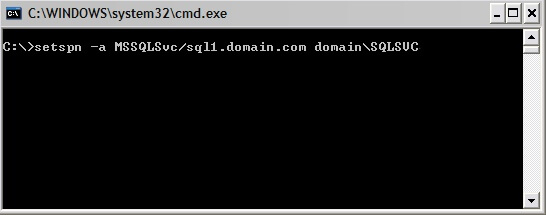
SPN Records for Dynamics CRM SSRS You may need to Set SPN Records for Dynamics CRM SSRS Configuration after installing or upgrading Microsoft Dynamics CRM 2011, Dynamics CRM 2013, or Dynamics CRM 2015, on-premises. These few settings may actually need to be configured manually. Setting SPN records can be a little tricky at first, until you get the hang of listing out the existing records and figuring out the format of the records you actually need. The associated SSRS errors can also look pretty bad to start with but with a little post-installation configuration work, setting the SPN Records for Dynamics CRM SSRS Configuration could be the magic you need to be up-and-running in a few minutes. First, lets go to the SQL Server Reporting Services Server machine, to check whether you have the two SPN records that are required. Log onto the SQL Server machine with an account that has Domain Admin permissions. Open an administrative Command Prompt Type setspn -l domainusername of the service account that runs SQL Server Reporting Server Service. This will list the current SPN’s associated with the account. If you do not pull back two results you have another command to type. You need the following two SPN records to show up after the last command: http/servername http/fqdn of the server example server.domainname.local or what you use for your local domain. If they’re not there, you’ll have to add them. The commands two commands to add the SPN records are: setspn -a http/server domainServiceAccountName setspn -a http/server.domain.local domainServiceAccountName Again run the first command “setspn -l domainusername” to list the changes you have made. Then move over to the CRM Server. There you will have another little tweak. Open the IIS manager on the CRM server. Click on the CRM website. On the right side: Click Configuration Editor Expand system.Webserver Expand Security Expand Authentication Click Windows authentication Change the useAppPoolCredentials from False to True. Save your changes Perform an iisreset You’re all set and now your CRM reports should be back up-and-running.