Problem Opening .ics File in New Outlook
Problem Opening .ics File in New Outlook When you sign-up for a webinar, you’re typically going to get an email that allows you to download an .ics file, that can be used to add the appointment to your calendar. In the new Outlook, I can’t seem to open these kinds of .ics calendar appointment files. It used to just open up, then I’d save it, and it would be on my Outlook Calendar. Now I have to go to my (New) Outlook Calendar, click “Add Calendar,” click “Upload from file,” browse to the downloaded .ics file, select it to upload it, and then “Select a calendar.” While this is better than not being able to import the calendar appointment at all, it sure does seem like a lot of steps compared to how it used to work. See screenshots below. Trying to open the calendar appointment .ics file with Outlook no longer works with the New Outlook. It’s slightly counter-intuitive to think that you have to “add a calendar” to just add a calendar appointment. Upload the calendar appointment .ics file that you downloaded from the invite. Select your default calendar.
Microsoft Teams Webinar Capabilities

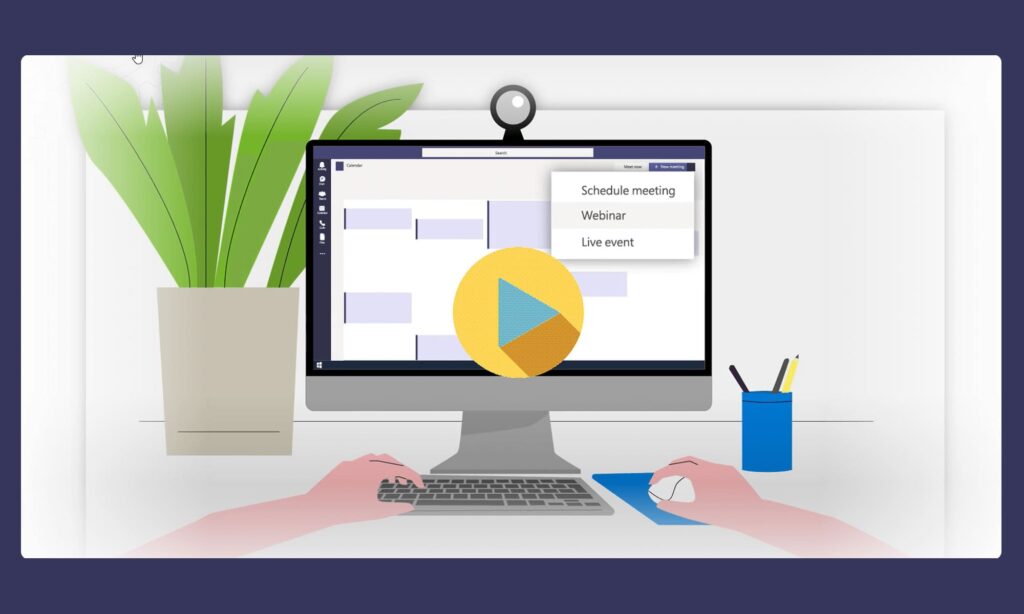
Very excited and looking forward to the new Microsoft Teams webinar capabilities. Until now, we had to be satisfied with a regular “online meeting” or “live event” experiences. The online meeting experience didn’t give enough options for hosting a webinar, and the live event experience was overkill for most small businesses looking to host a webinar. That being said, we dropped Zoom around the end of 2019 and started using Teams exclusively. Before that, we used GoToWebinar, which was nice. Since then, I’ve done a few webinars, and I discovered there were some things that I missed about a more fully-featured webinar tool. I recall that ClickDimensions had a nice integration with GoToWebinar, but GoToWebinar was a pricey service, and now I’m using Eventbrite for registering attendees, which is free, and also has a ClickDimensions integration. The updated version of Teams will have an integration with Microsoft Marketing, but more on that later. This new version of Teams is officially a new service tier; the good news is that it is included at no additional charge if you have one of the following subscription licenses: Microsoft 365 Business Standard Microsoft 365 Business Premium Office 365 E3, E5, A3, or A5 So, you will be able to host full-featured webinars in your Microsoft Teams environment. There are some cool new capabilities where you will be able to overlay video of yourself speaking to your audience on top of your PowerPoint slides. Also, there’s some nuances with the PowerPoint presentation mode, that will enable better eye contact with your audience. Easily setup and deliver webinars Connect with audiences with integrated registration, multi-presenter support, and interactive participation. Delight and engage attendees Bring webinars to life with immersive views combining content, speakers, and more with Presenter mode. Present like a pro with integrated experiences Manage content, attendees, and speaker notes in a single view with PowerPoint Live. Use host controls to manage large audiences Disable attendee audio, video, and chat, and use lobby controls to manage access. Previous Next All good stuff. Even better, you will be able to gain some insights into your attendee audience. You’ll be able to get a view listing who attended and for how long they were in the webinar. The list is exportable to Excel and can be integrated straight over to Microsoft Marketing.
How to Share Inbox Subfolder in Outlook

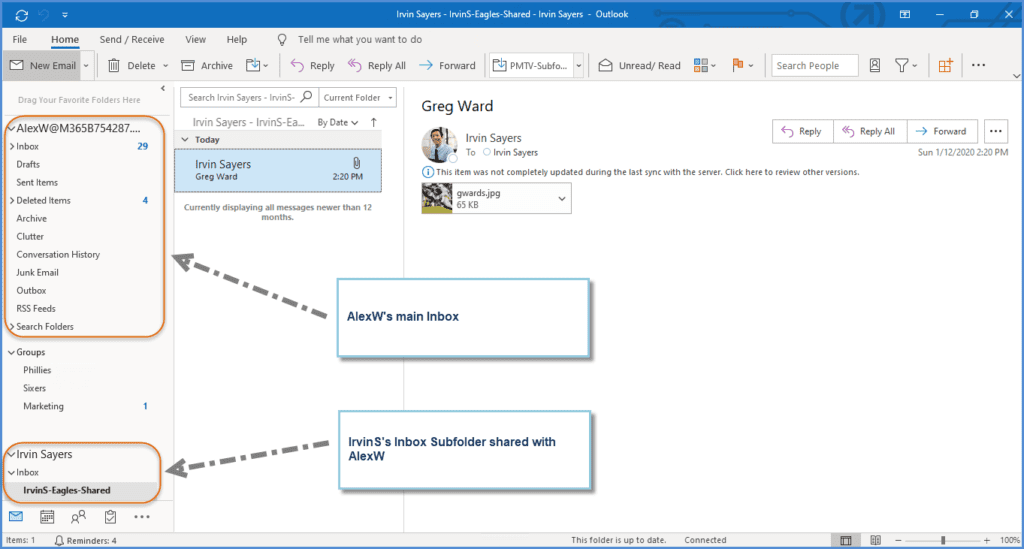
How to share Outlook Inbox subfolders with other users.
Word 2013 Spell Check Not Working

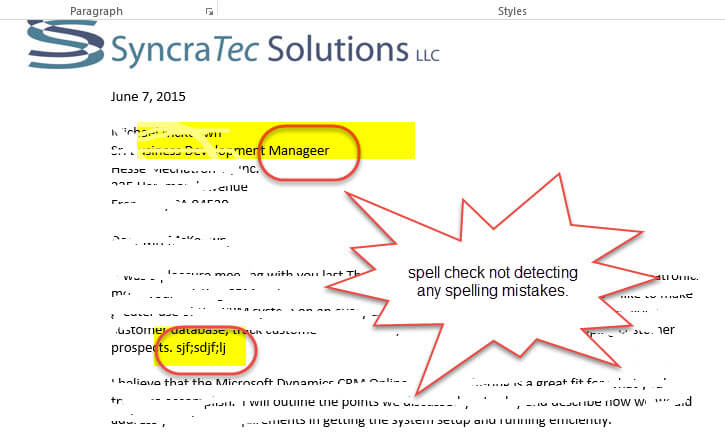
Word 2013 – Spell Check Not Working Spell Check Stops Detecting Misspelled Words Even after clearing the “Do not check spelling…” checkbox, Word doesn’t highlight spelling mistakes in document. I had been confounded with Word 2013 spell check not working until I finally found the root cause of the issue. This happened one day while working on a proposal for a prospective client. I began to notice that the Word spell check had seemingly stopped working. A series of quick Google searches return the same answers over-and-over, which didn’t work! The suggested answers were either to first hit Ctrl-A to highlight all the text on your document and then (a) go into File | Options | Proofing | make sure the “Hide spelling errors in this document only” checkbox is cleared (which it was); or (b) Review | Language | Set Proofing Language | and make sure the “Do not check spelling or grammar” checkbox was cleared (which I did). The issue still didn’t go away. Most of the blog articles I reviewed didn’t say this, but it seems to me you need to close your Word document and re-open for either of these changes to take effect. But if the problem is still not fixed, take another look at the key symptom which can be seen in the image to the left; that is the “Do Not Check Spelling…” checkbox is neither checked nor empty: and if you do try and clear it here — it will just revert back, and…you’ll still have the problem with Word 2013 spell check not working. (That’s where I would recommend closing and re-opening your Word document.) If the above steps don’t work, then what I found to fix the problem is by going into the “Styles” area of Word, and drilling down to find where the culprit of this issue resides. Go to Home | Styles area | right-click on the Style (e.g., Normal) and select “Modify…” | then Format and Language; and there you see it: make sure the “Do not check spelling or grammar” checkbox is cleared. Click OK all the way back out, save your document, and then close and re-open Word.